How to Create an Expense Tracking System with Spreadsheets
Understanding the Importance of Financial Management
Managing finances can often feel overwhelming, but the right tools can significantly simplify the process. One of the most effective resources at your fingertips is a spreadsheet. With a spreadsheet, you can build a personalized expense tracking system that fits your unique financial situation, allowing you to take full control of your finances.
The Power of Spreadsheets
Spreadsheets serve as a flexible and user-friendly platform for monitoring your spending habits. They are essentially digital notebooks that allow you to organize and manipulate data, making them ideal for expense tracking. Here are a few key benefits:
- Customization: You can tailor your categories to suit your specific needs. For instance, if you frequently dine out or attend concerts, you might want to create categories like “Dining” and “Entertainment” to track those expenses separately. Alternatively, if you have children, categories like “Childcare” or “School Supplies” can help you manage related costs effectively.
- Real-time Updates: Spreadsheets allow for quick entries, which means you can log your expenses as they occur. For example, if you buy groceries and pay for them with a credit card, you can record the cost immediately in your spreadsheet. This real-time approach ensures you always have an accurate financial picture, preventing overspending and financial surprises.
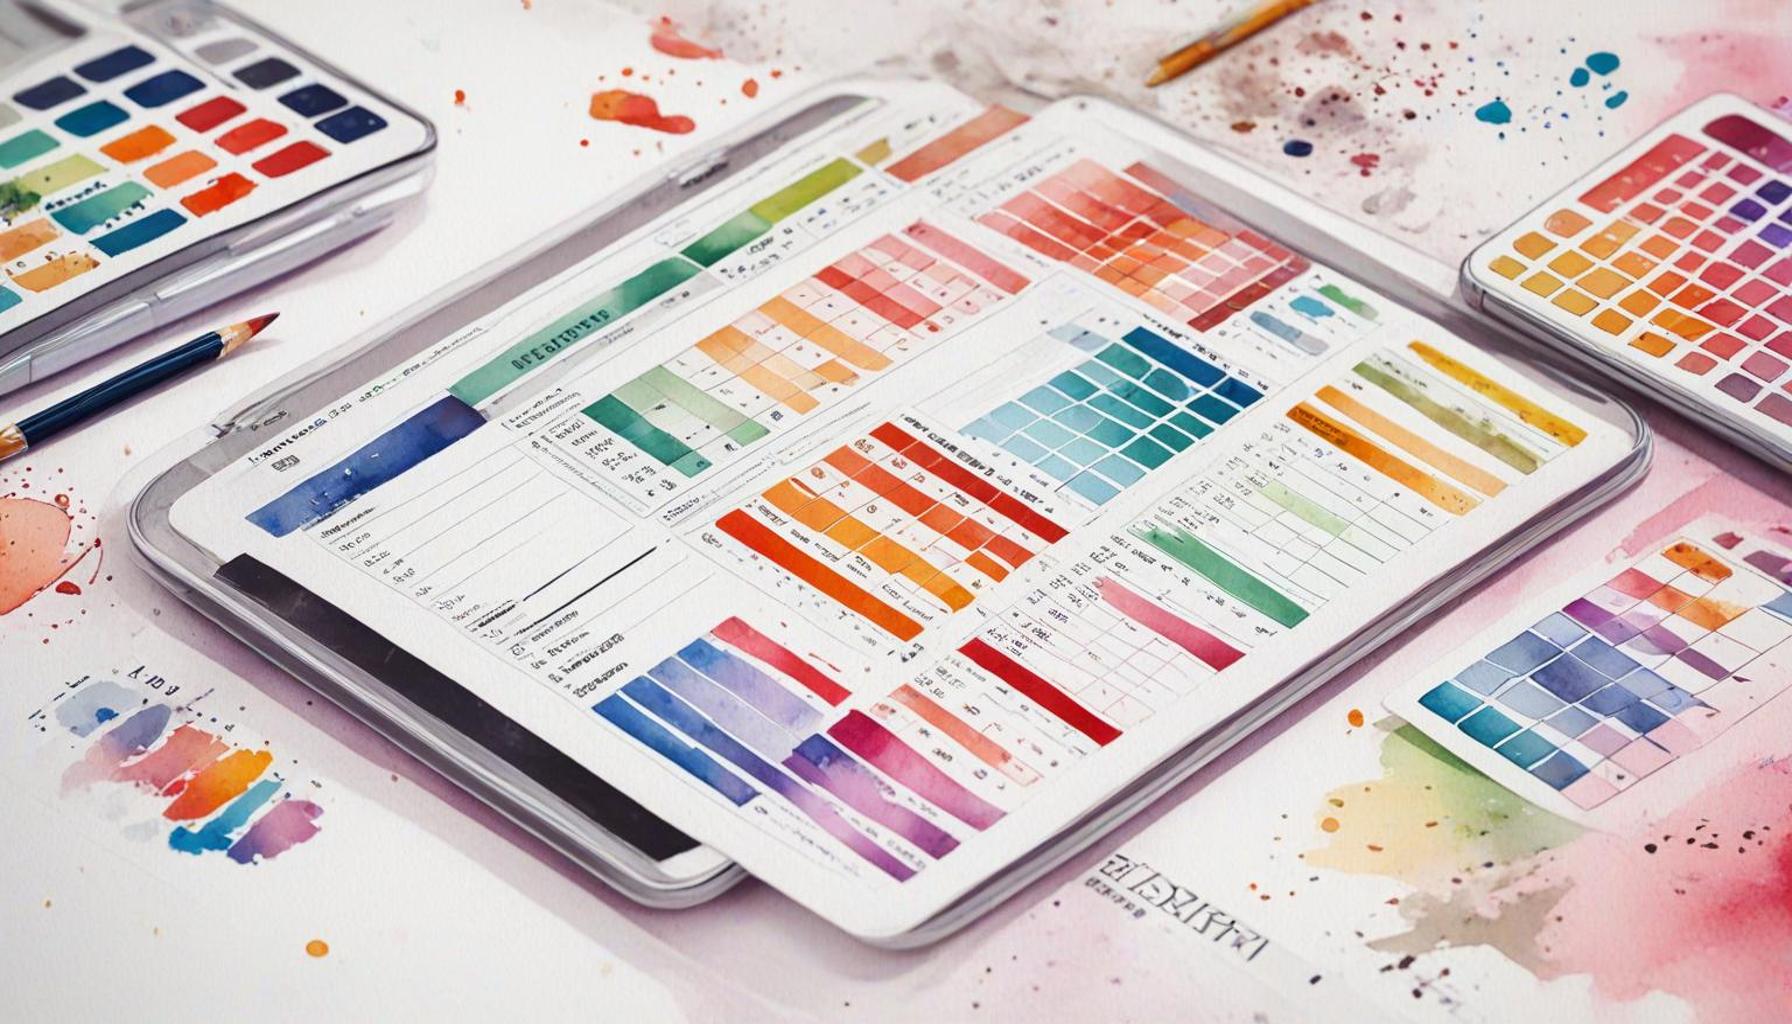
- Visual Insights: Utilizing the charting tools available in most spreadsheet software, such as Microsoft Excel or Google Sheets, you can create graphical representations of your spending. Visuals, like pie charts or bar graphs, provide a clear overview of where your money is going, allowing you to pinpoint areas where you might cut back.
Benefits of Using an Expense Tracking System
Integrating an expense tracking system into your daily life can lead to better budgeting decisions and improved long-term financial health. Whether you’re saving for a vacation, a new car, or simply trying to reduce unnecessary spending, a well-organized approach will make your financial goals more attainable.
For example, let’s say you aim to save $5,000 for a family trip to Disneyland. By using your spreadsheet, you can track daily expenses and identify discretionary spending areas. If you notice you’re spending too much on coffee runs, you can adjust and allocate that money toward your vacation fund instead.
Getting Started with Your Expense Tracking System
This article will walk you through the steps of creating your own expense tracking system using spreadsheets. You will learn how to set up your categories, input transactions, create formulas for automated calculations, and generate summary charts. Let’s embark on this journey toward smarter spending and enhanced financial awareness.
SEE ALSO: Click here to read another article
Setting Up Your Expense Tracking Spreadsheet
Creating an effective expense tracking system starts with a well-structured spreadsheet. Let’s break down the steps to set up your spreadsheet in a way that is both easy to manage and provides you with valuable insights into your spending behavior.
1. Choosing Your Spreadsheet Software
Before you dive into setting up the spreadsheet, decide which software you want to use. Popular options include Microsoft Excel, Google Sheets, and Apple Numbers. Each option has its own advantages, so consider what works best for you:
- Microsoft Excel: It offers advanced features and extensive functions, making it suitable for users who need in-depth analysis.
- Google Sheets: This is a great choice for those who prefer a cloud-based solution, which allows for easy sharing and collaboration.
- Apple Numbers: Ideal for Mac users, it provides a clean interface and seamless integration with other Apple applications.
2. Structuring Your Spreadsheet
Once you’ve chosen your software, it’s time to structure your spreadsheet. Start with creating a new document and label the first sheet as “Expense Tracker.” The layout should include the following key components:
- Date: This column is where you will input the date of each transaction.
- Description: Use this column to briefly describe the nature of the expense, like “Groceries” or “Gas.”
- Category: Create predefined categories that match your spending habits; these could include “Housing,” “Transportation,” “Food,” “Entertainment,” and more.
- Amount: Record the total amount spent for each transaction in this column.
- Payment Method: Specify whether the payment was made via credit card, debit card, cash, or another method.
3. Entering Your Transactions
With your basic structure in place, begin entering your transactions. It’s best to do this regularly—whether daily or weekly—so that you can keep an accurate record of where your money is going. Making expense tracking a habit will enhance your financial awareness and aid in your budget management. As an initial step, consider reviewing your bank statements or receipts from the past month to input your historical data. This way, you’ll start with a clearer picture of your financial habits.
As you progress, remember that each entry helps build a comprehensive picture of your financial behavior. The more diligent you are about tracking expenses, the more insights you’ll be able to gain from your spreadsheet. In the next sections, we will delve into advanced techniques such as introducing formulas for automatic calculations and generating visual representations to help analyze your spending trends effectively.
SEE ALSO: Click here to read another article
Enhancing Your Expense Tracking System
With your basic expense tracking spreadsheet in place, you can take additional steps to enhance its functionality and provide even deeper insights into your spending habits. By incorporating formulas, conditional formatting, and visual tools, you can turn your spreadsheet into a powerful financial management tool.
4. Utilizing Formulas for Automatic Calculations
Formulas are a great way to automate calculations and save time, ensuring your expense data remains accurate and up to date. Here are a few key formulas you might want to consider:
- Total Expenses: At the bottom of your “Amount” column, use the SUM formula to calculate your total expenses automatically. For example, if your expenses are in column D from row 2 to row 100, you would enter =SUM(D2:D100) to see the total in that range.
- Average Spend per Category: To find out how much you’re spending on average in each category, you can use the AVERAGE function. If you want to analyze spending on “Food,” for instance, you could create a section that calculates =AVERAGEIF(CategoryRange, “Food”, AmountRange) where CategoryRange and AmountRange represent the respective columns.
- Monthly Totals: Summarizing expenses by month can provide helpful insights. Use the SUMIF formula to sum expenses based on the month. For example, =SUMIF(DateRange, “>=01/01/2023”, AmountRange)-SUMIF(DateRange, “>=02/01/2023”, AmountRange) would give you the total for January 2023.
5. Implementing Conditional Formatting
Conditional formatting can visually enhance your spreadsheet, making it easier to identify trends or issues in your spending. For instance, if you want to highlight expenses that exceed a certain amount (let’s say $100), follow these steps:
- Select the “Amount” column, then click on “Conditional Formatting.”
- Choose “Highlight Cells Rules” and then “Greater Than.”
- Enter 100 and select a formatting style (like a red fill) to make these cells stand out.
This technique allows you to quickly spot large expenses that may require your attention, ultimately helping you adjust your budget as needed.
6. Creating Visual Representations of Your Data
Visual aids such as charts and graphs can dramatically improve your ability to understand your financial data at a glance. Google Sheets and Excel offer various chart types, such as pie charts, bar graphs, and line charts:
- Pie Charts: Great for showing the proportion of each spending category in relation to total expenses. To create this, select your Category and Amount data, and choose “Insert Chart” followed by “Pie Chart.”
- Bar Graphs: Ideal for comparing expenses over different months or categories. Select your data, then choose “Insert Chart” and select “Bar Graph” for a clear visual comparison.
- Line Charts: Use this to visualize trends over time. This is particularly useful for tracking how your expenses change month over month.
By incorporating these visual elements into your expense tracking spreadsheet, you’ll proactively recognize patterns in your spending that can inform better decision-making going forward.
With the proper structure, formulas, and visual aids in place, your personal finance tracking will be more efficient, insightful, and impactful. Continuing to refine your spreadsheet will certainly lead to improved financial health and awareness over time.
SEE ALSO: Click here to read another article
Conclusion
Creating an effective expense tracking system using spreadsheets is a powerful way to gain control over your financial situation. Throughout this guide, we have emphasized the importance of setting a solid foundation by organizing your data clearly, categorizing expenses, and maintaining an updated record of your financial activities. By introducing key features such as formulas, conditional formatting, and visual tools, you can transform a basic spreadsheet into a comprehensive financial management resource.
As you reflect on your spending habits, utilizing formulas to automate calculations streamlines your tracking process and minimizes the chance of errors. Furthermore, applying conditional formatting allows you to identify significant expenditures that may warrant your attention, while visual representations like charts and graphs offer an intuitive way to analyze your data at a glance.
Remember, the goal of creating an expense tracking system isn’t just about documenting what you spend; it’s about fostering a deeper understanding of your financial behavior. With this knowledge, you can make informed decisions that align with your financial goals, whether that means cutting back on certain categories or planning for future expenses. Consistently refining your spreadsheet will not only enhance your financial awareness but also guide you towards improved fiscal health over time.
In conclusion, an expense tracking system built on spreadsheets provides a practical and adaptable method for managing your finances. By following the steps outlined and continually iterating on your approach, you’ll be well-equipped to navigate your financial journey with confidence.

Linda Carter
Linda Carter is a writer and financial expert specializing in personal finance and financial planning. With extensive experience helping individuals achieve financial stability and make informed decisions, Linda shares her knowledge on the our platform. Her goal is to empower readers with practical advice and strategies for financial success.